Old Chevelles
Welcome to OldChevelles.com, built by Auto Enthusiasts for Auto Enthusiasts. Cars are not our only interests so please feel free to post about any subject the community might enjoy or you just feel you need to air.
We respect free speech and constructive dialogue however we don't allow threatening talk against members, nudity, or pornography. Threads are monitored and trolls are not tolerated.
This site is completely free and there are no costs. Please enjoy and provide feedback.You are using an out of date browser. It may not display this or other websites correctly.
You should upgrade or use an alternative browser.
You should upgrade or use an alternative browser.
69 Malibu Pro Touring build
- Thread starter Derek69SS
- Start date
Till this point what's been done to rear suspension geometry?Boxed frame and home-built 3-link... but we'll get to that 3-link in a later installment.
Derek69SS
Veteran Member
Moser 9" with adjustable Wolfe Racecraft tube arms and heim joints on both ends.Till this point what's been done to rear suspension geometry?
A few years ago I added a Watts link, and changed the upper ears from heims to rubber bushings. This didn't work very well.
Last year I cut the upper arm mounts off and fabbed a 3-link.
Derek69SS
Veteran Member
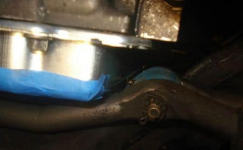
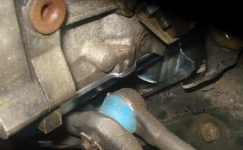
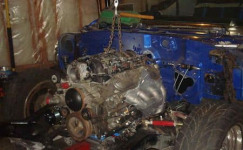
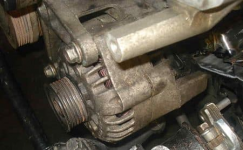
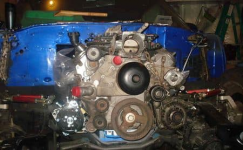
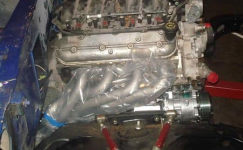
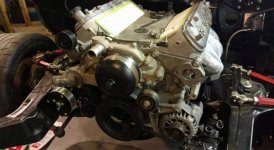
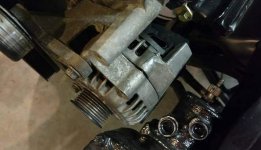
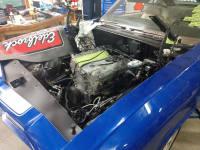
Fitting the LS1 was a bit of a challenge. In 2010, there weren't as many options as there are today, and the Edelbrock headers were the first affordable long-tube headers available for the Chevelle chassis. I picked the Autokraft baffled road-race pan, and wanted to keep the stock low-mount F-body accessories for a clean look while also keeping it all factory GM so it could be serviced with replacement parts from any parts store anywhere in the country.
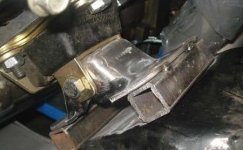
With engine mounts in the stock location, I had interference of the tie rods to the pan, alternator to the steering box, and the headers hung lower than the crossmember. All of these problems were solved by raising the engine up about an inch, and offsetting it about 1/2" to the right. With the tunnel cut completely out, I had a blank slate for engine placement.
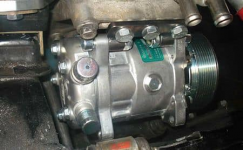
AC compressor fitment required notching the RH frame horn for clearance, and drilling one well placed hole in the crossmember to be able to feed a bolt into the back side of a bracket.


Derek69SS
Veteran Member
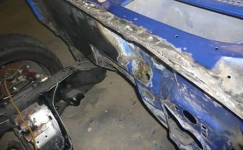
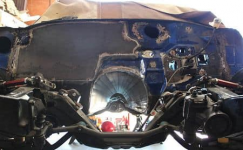
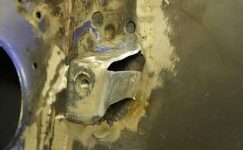
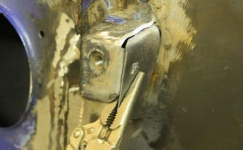
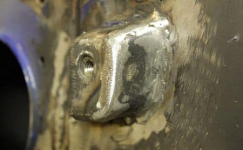
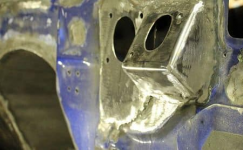
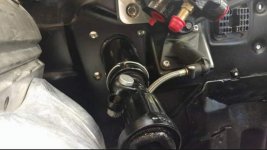
The appearance of the factory firewall leaves a lot to be desired, and cleaning that up goes a long way toward making things look nice under the hood. I smoothed the firewall and welded studs to it any place where I could to avoid having exposed fasteners.
I made a clutch master cylinder bracket and integrated that into the firewall.
The top edge I cleaned out all of the original seamsealer and trimmed each layer of sheetmetal straight, welded it solid, and formed a new front edge.
I also added a Vintage Air A/C system and hid all of the mounting and plumbing so no part of it is seen on the firewall.
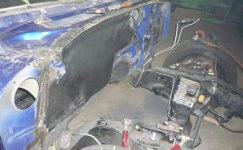
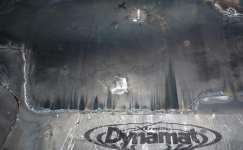
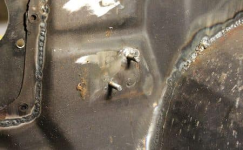
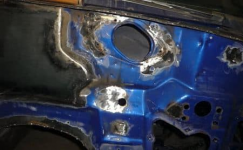
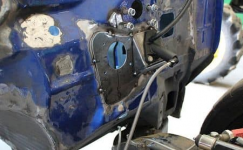
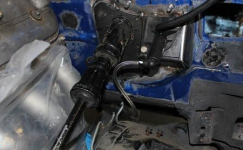
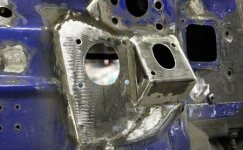
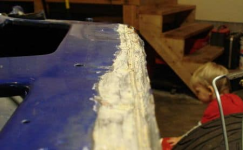


Last edited:
Derek69SS
Veteran Member
Yeah, there's a ton of holes, dimples, and other ugliness that needed to be addressed. This part of the project added a lot of time to the job.Most firewalls I've dealt with are wavy and distorted. Cleaning them up for me has always been a pain.
Derek69SS
Veteran Member
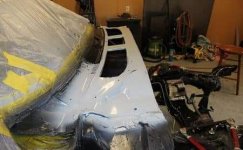
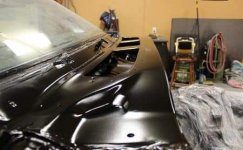
Between 2010 when I took the car apart, and whenever I finally painted the firewall, (maybe 2014?) we moved twice, and the kids kept us very busy. I worked on it when I felt like it, but over those 4(?) years, it mostly collected dust with short bursts of progress every six months or so.
I blame the kids. It's entirely their fault. I would never leave a project unfinished for years on my own.
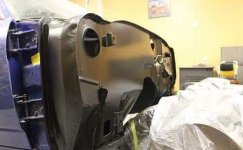
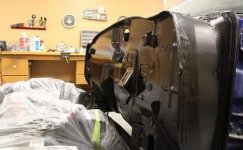
I blame the kids. It's entirely their fault. I would never leave a project unfinished for years on my own.


Derek69SS
Veteran Member
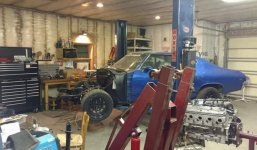
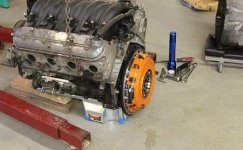
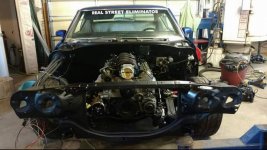
After all the fab work and paint was done, I made some steady progress on reassembly for a little while, but then hit a wall again when it came to wiring and plumbing. I don't enjoy that type of work, and couldn't stay motivated to work on it. I had also made a career move into a position with high stress and little free time, but decent enough pay that I didn't need to be such a tightwad anymore... So, in 2017, I dropped the car off with Steven Kiehne, and picked it up a couple months later with the fuel system and wiring completed, and the car was yard-drivable. It still needed a lot of work to be roadworthy, but I could hear it run, and that was enough to motivate me to keep working on it.


Derek69SS
Veteran Member
Over the winter of 2017/2018 I finished assembly of most of the car, and bought another new set of wheels, this time finally buying the expensive ones that I had wanted for many years, 18x9.5" and 18x11" CCW Classics. I had to make a little extra clearance in the rear, but I was able to stuff 315/30s in with no rubbing.
By spring of 2018 the car was nearly complete, and finally looking to be ready for the road...
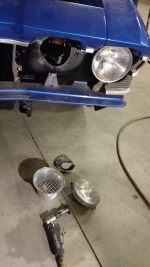
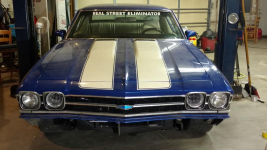
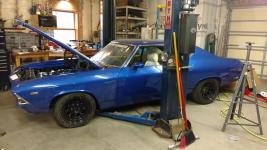
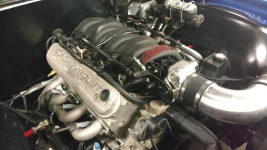
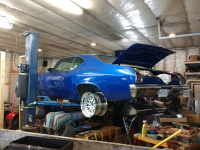
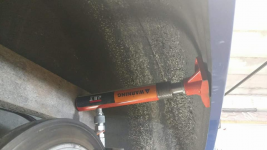
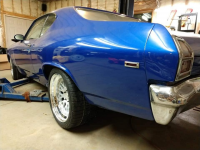
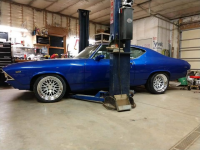

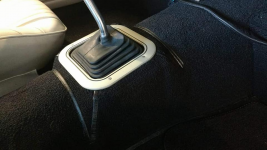
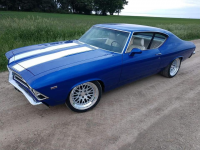
By spring of 2018 the car was nearly complete, and finally looking to be ready for the road...


Derek69SS
Veteran Member
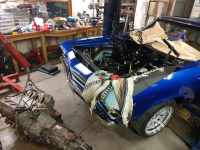
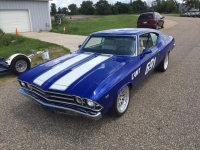
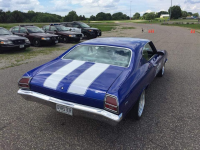
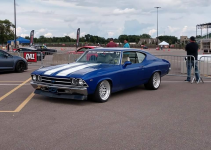
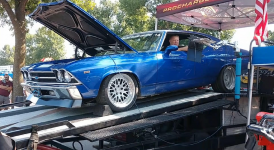
Summer of 2018 was full of expensive mistakes and lessons...
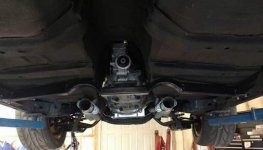
I wanted to run full 3" exhaust out the back, but needed to complete the install of the Watts Link first before I could do the exhaust, but I had trouble getting the Watts set up correctly. (Turns out I couldn't get the exhaust over the axle with the watts in the way, and had to dump it before the axle, so that was all wasted effort anyway)
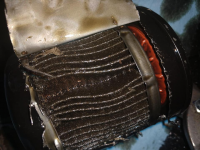
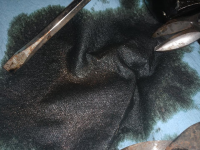
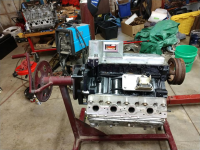
I ran the car a little bit with open headers, but without exhaust on the car, the oxygen sensors were too close to the end of the pipe, so it was reading lean at lower RPM, and dumping in enough extra fuel to start fouling plugs. I cleaned the plugs, installed exhaust, and took the car to the Lyle car show for it's first trip out on the road. I didn't realize all that extra fuel had thinned out the oil, and was destroying the bearings.
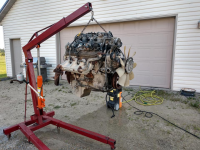
I bought a cheap junkyard 5.3L to replace the damaged 383 just to get by for the rest of the summer. I then signed up for an autocross at DCTC, where a tensioner pulley seized and shredded the belt. Easy fix at least there.
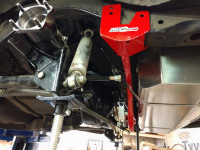
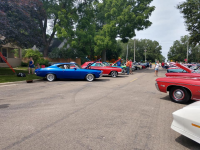
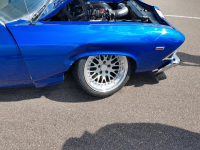
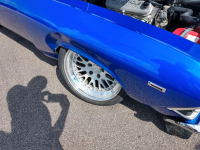
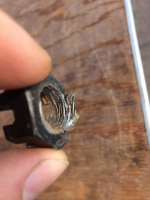
At Street Machine Nationals, my season was ended with a loose lower balljoint coming apart, jamming the tire into the fender. In all my late-night thrashes, I had forgotten that I left the lower balljoint nuts loose so that I could adjust ride-height.


Derek69SS
Veteran Member
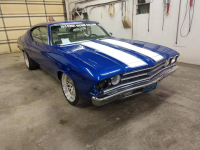
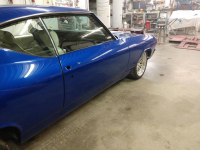
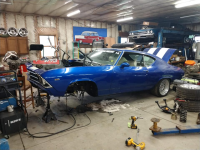
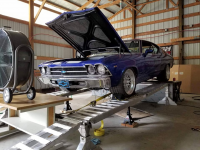
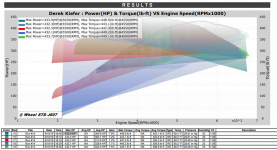
Over the winter of 2018/2019, I had Dad replace the fender and repaint the whole right front corner of the car, and took the wounded 383" LS1 in to Baier's Engine Service for a rebuild. I pulled the junkyard 5.3 and while I had extra room to work, I cut the frame pockets out and installed Speedtech Chicane upper coilover mounts to change from the old dirt-track spring/weight-jacks to VariShock DA coilovers. I got it all back together and had it tuned by Steven Kiehne, making 434hp to the wheels peaking at 5650rpm.
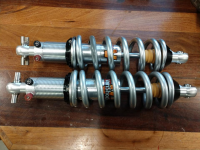


1969chevmalibu1969
Well-Known Member
Thanks for posting. I really enjoy your car and story.
Derek69SS
Veteran Member
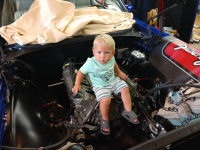
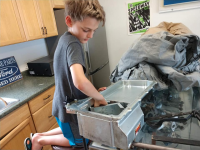
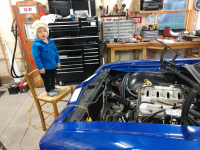
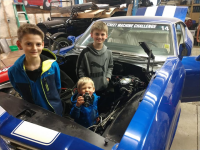
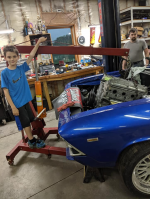
Oldest and Youngest are nuts about cars, and enjoy helping.I love how you involve your sons. Do they show interest in working on the car?
Middle son doesn't care much about cars, and is more interested in video games.
kmakar
Janitor
Oldest and Youngest are nuts about cars, and enjoy helping.
Middle son doesn't care much about cars, and is more interested in video games.
2 out of three ain't bad. My sons didn't become interested until much later. They all played their video games Nintendo and WII I think, but don't quote me on that.
