1969chevmalibu1969
Well-Known Member
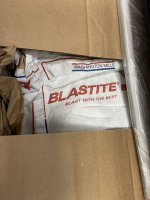
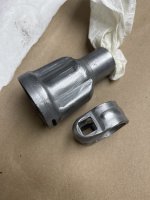
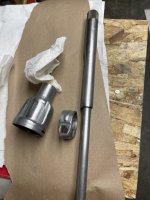
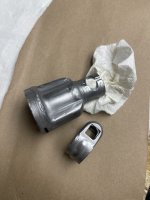
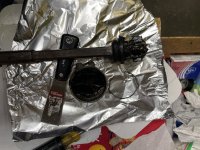
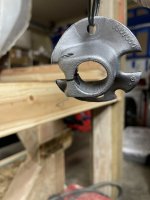
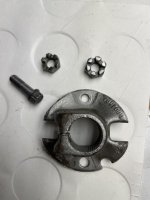
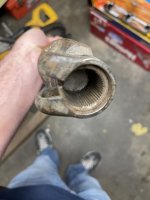
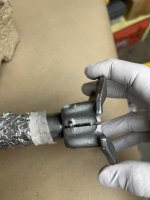
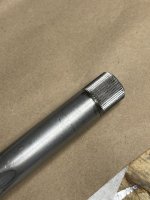
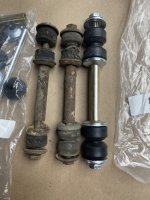
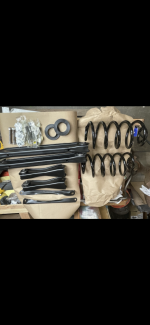
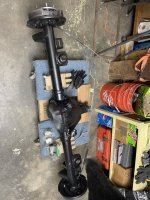
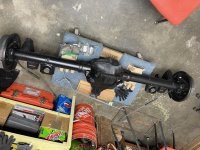
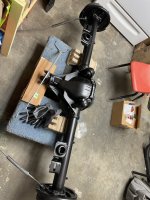
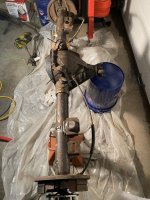
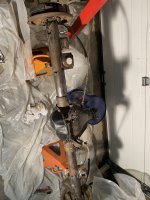
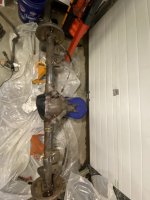
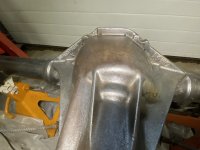
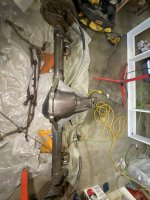
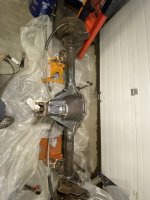
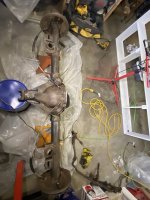
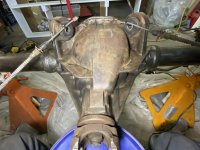
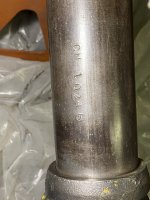
Can’t remember the grit I think 90+-black from Eastwood. I’ll look it up and get back. That last part I blasted two times trying to be around 100psi. Then wiped down and wire wheeled. Found cleaning with dish soap works good. Then I will blast once more before I seal it. I think the advantage I have besides nose weather here is it’s been sitting since last licensed in 1992.Or dab some clear epoxy on it.
What media you using, the parts look smooth and oem. Very nice.